The US is huge.
Australians (and nationals from 37 other countries) can get a visa waiver known as the ESTA Visa Waiver Program (VWP) if visiting the United States of America (USA) for less than 90 days. It’s a simple online form which you pay for so you don’t have to pay for an actual visa (slight eye roll). It currently costs US$14 and can be purchased very quickly online here. Do not be fooled by other visa programs promising ESTA’s. I mistakenly forked out $70 back in 2012. But I got your back.
HOWEVER
Back on my second US trip in 2012 – 2013 the kids and I could not explore all we wanted to in such a relatively small amount of time. Plus, on the ESTA a visit to Canada or Mexico is not considered “departing from American soil”. Which means after 90 days you can’t just spend time across the border and come back.
WE NEEDED LONGER!
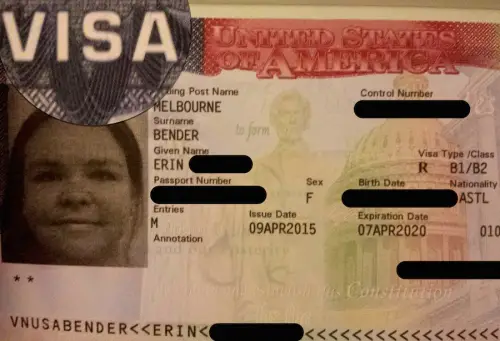
During our nomadic travel, we wanted to spend a substantial amount of time in North America, including the USA. And I figured it out. During our stay in Melbourne, Australia to visit my parents I applied for a 6-month business/tourism visa so our next trip to the US could be more fulfilling (especially considering the cost of the flights to get over there).
Quick Facts
- You can apply for a B1 (business) or B2 (tourism) or a combination of both.
- The application costs US$160 for each person (including children) and can be done online.
- Each person must have a passport-quality photo taken in the last 6 months.
- An interview is then scheduled at the US embassy.
- An additional US$25 per person applies if you pass the interview and choose a visa length of longer than 1 year.
- Maximum visa length period is 5 years, but you could be granted less.
- This visa provides you with a maximum of 6 months in the US at one time.
- As far as research suggests you can visit Canada or Mexico and return to the US, unlike the ESTA.
- To receive your visa the US Consulate will hold your passport for about a week and then post it back via courier.
- Our total cost for a 5-year visa is US$185 per person.
- Use your power of reason and don’t book any transport or accommodation in the US until your visa is approved.
Our Visa Process
I decided to do a combination of B1 and B2 since I wanted to attend a few conferences in the US. The application asked so many weird and wonderful questions including “are you a terrorist?”. Not joking. It was relatively straightforward but also very long.
You can start the visa application on this website by clicking “create account” on the right and following the prompts.
Expert tip: Thankfully the majority of the questions can be transferred to additional applications if you are applying for multiple people. Just choose to resume an existing application AFTER it’s been submitted.
I paid US$160 per person via credit card online or you can also pay in person at a post office. Since I had multiple applications to do for me and the kids, payment was made after I completed all applications. To provide proof of payment, you’ll need to print a summary sheet. The biggest pain is that paying the fee does not guarantee your visa application will be successful, nor does it guarantee entry to the country. And it’s not refundable. So make sure it’something you really want before applying.
Once I printed the summary of our application confirmation, I arranged an appointment at the nearest US consulate/embassy. This was done on the same website as the payment. You can check this page for current wait times. Don’t forget, you need to bring a passport size photo for each person taken within the last 6 months old.
What To Bring Checklist
Bring the following to your visa interview:
- Your passport
- Passport style photo (less than 6 months old)
- Application confirmation summary (1 page per person)
- Payment receipt (1 page)
My appointment at the Melbourne US Consulate was scheduled for 10:30 am. I arrived about 10 am and there was already a queue outside the door to the embassy.
It was about a 15-minute wait, as they only let 4 people in at a time.
Once inside I was asked to register on a computer. After, I handed over all my possessions to the security staff and walked through an airport-style security scanner. I was not allowed to bring my mobile phones or pretty much anything else, including my car keys. All these things were confiscated and I was given a numbered token to claim them back at the end.
The guards provided a sticker with my name and barcode which needed to be visible at all times.
This is when it gets boring because there is little available to pass the time. Finally, the kids and I were escorted 4 at a time up an elevator with a guard.
On the next floor, we went through a similar procedure. Showing our ID sticker and passports, we handed over any possessions, went through another security scanner, issued a numbered ticket and then entered a beige waiting room.
We waited approximately 20 minutes before we were called. At this stage, they just asked for fingerprints and took our paperwork and photos.
“Is your daughter here?” She asked.
“Yes,” I said.
“Can I see her?”
My daughter Mia came over and smiled at the lady behind the glass. The same process for my son.
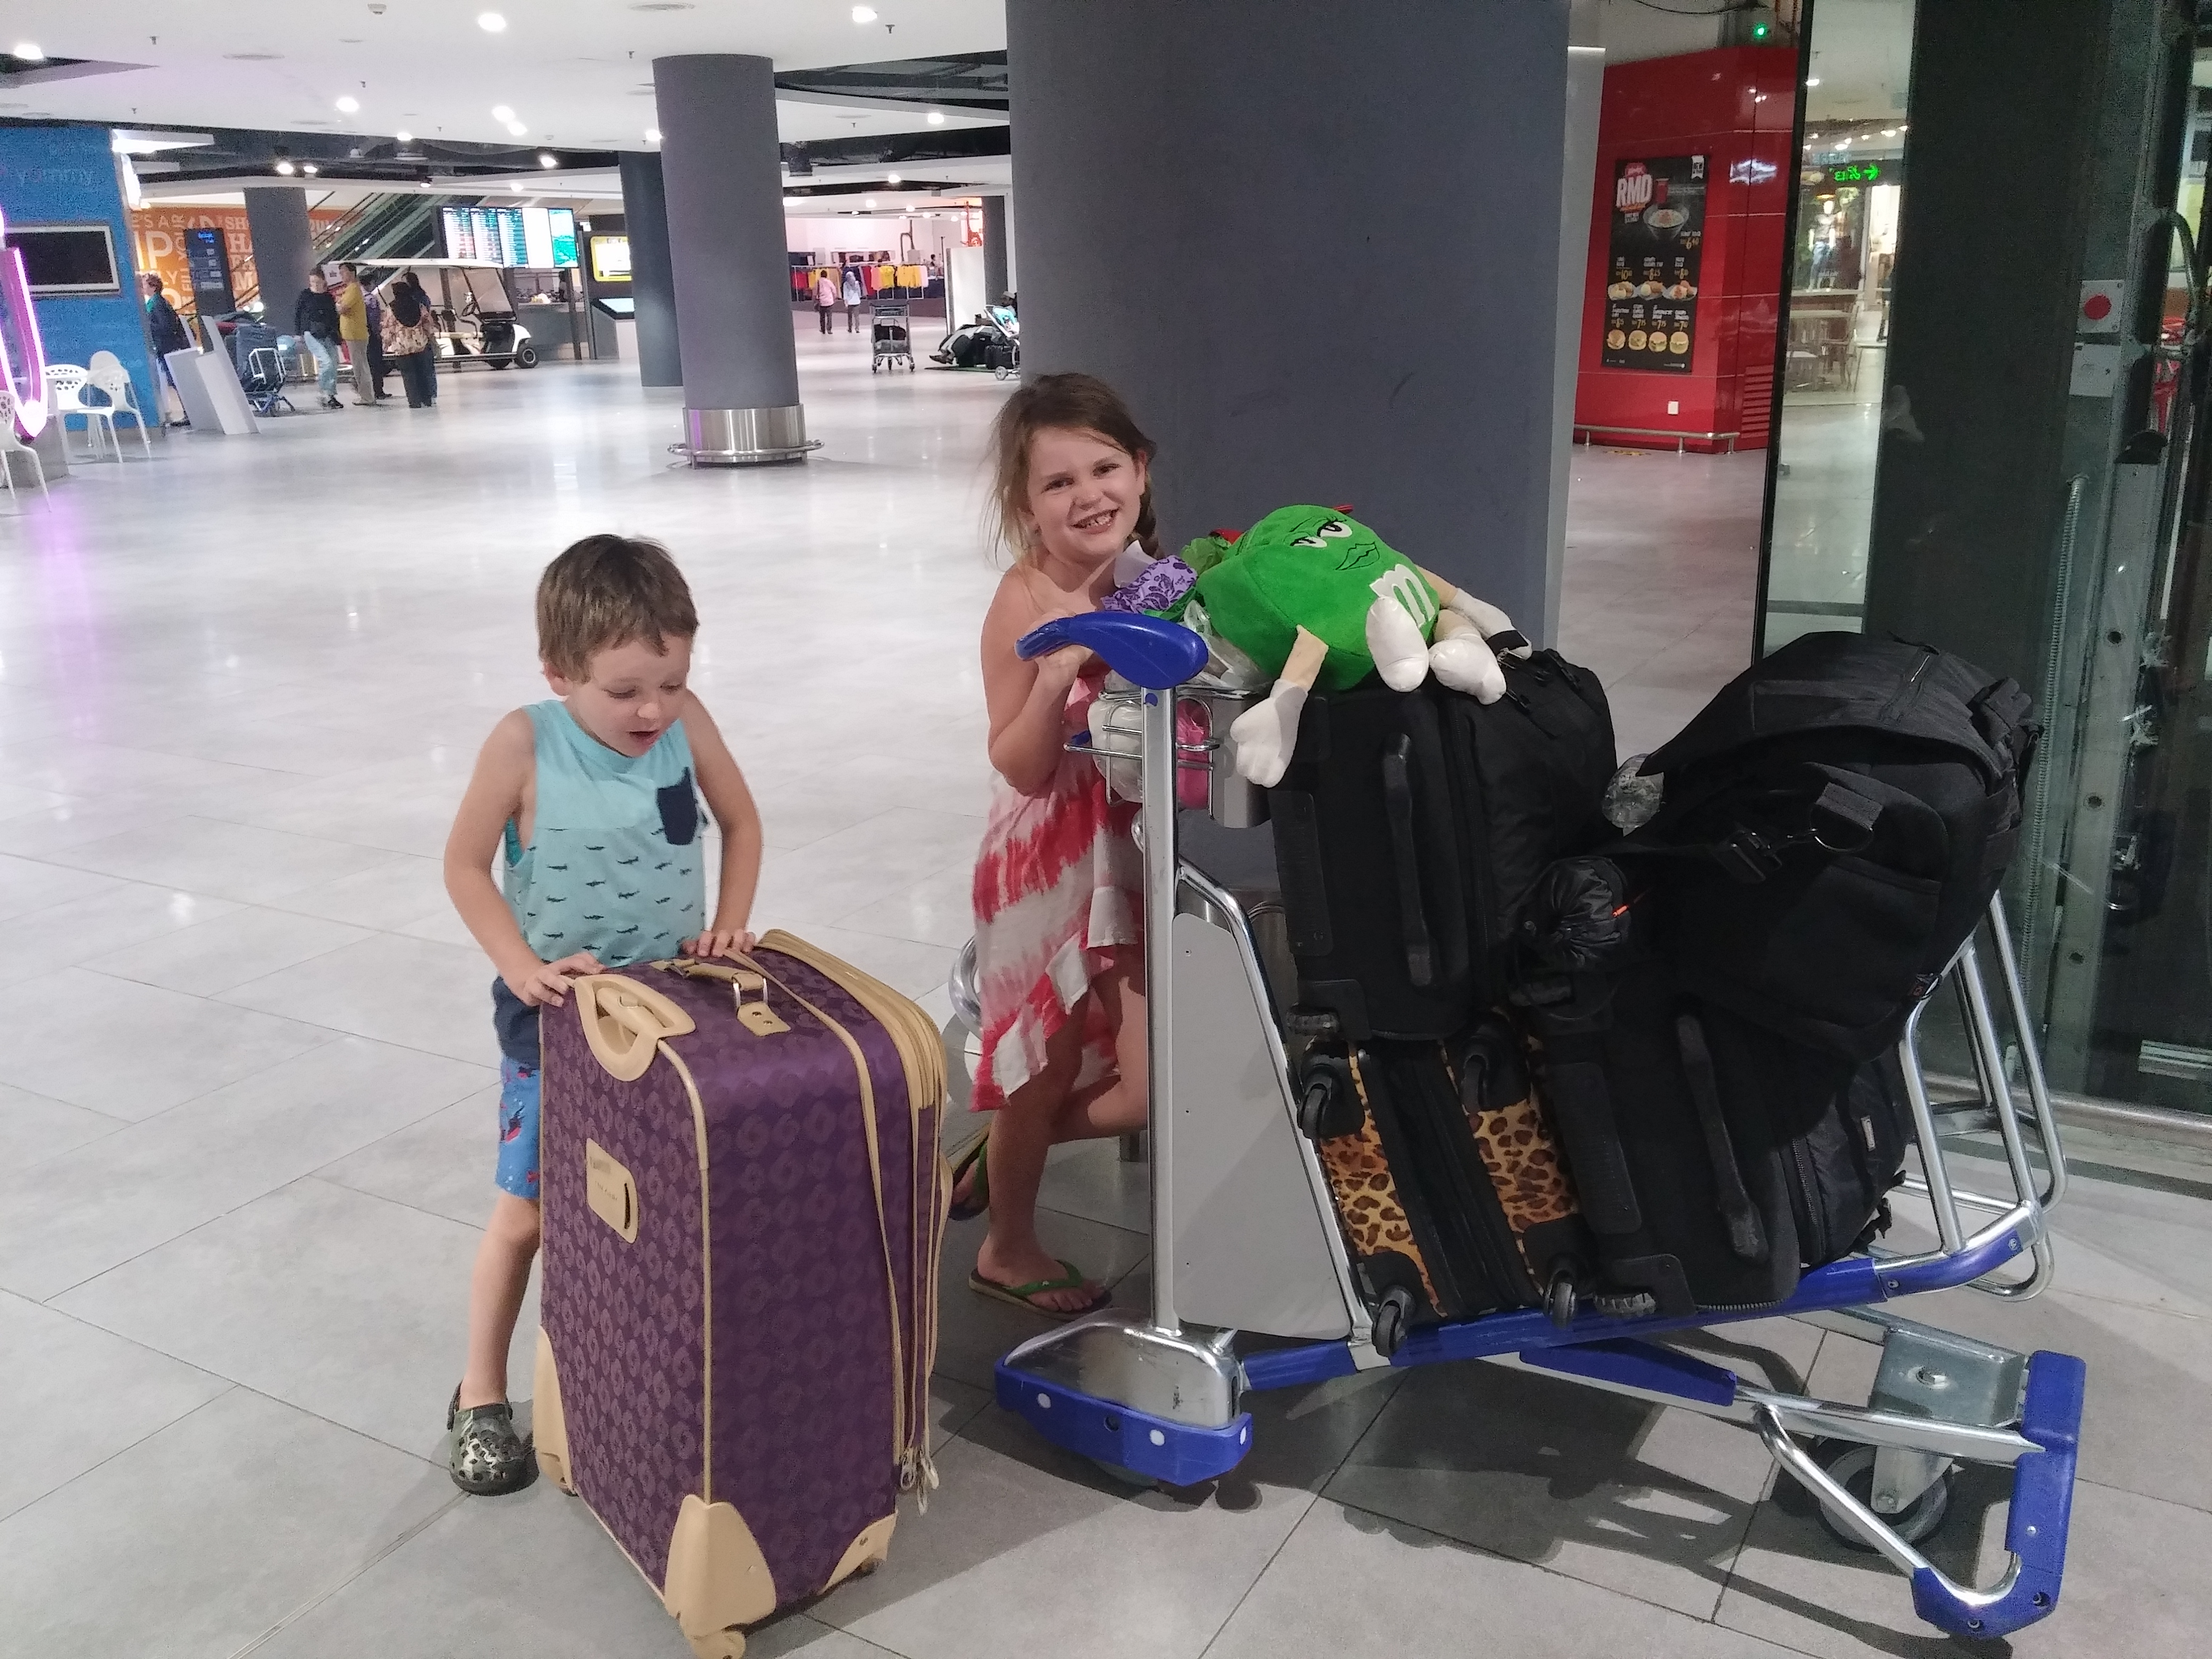
We sat in the waiting room for another 40 minutes. In the far corner, a wall-mounted TV played a video loop encouraging people to head to the US. It wasn’t entertaining and it was obvious to me that everybody in that waiting room already wanted to go to the US. So the purpose was?
Near the back wall, a small basket of kids’ books provided my kids an escape from their boredom. I read quietly to them to pass the time. A bathroom was located around the corner along with a sign explaining that only 1 person was allowed in at a time. Although there were multiple toilet stalls in that bathroom.
Finally, we were called to the interview booth. We were asked how we planned on funding the trip, if I planned on working in the US and then, “You’ve been approved, please see the cashier and we will send your passports to you within 5 business days.”
Finally. Done. Yay.
I visited the cashier where I had to pay another US$25 per person for the visa issuance fee. And our visa application process was done. With a sense of accomplishment, I left the building.
Time at consulate: Almost 2 hours
Total cost: US$555 (AUD$765) – US$185 per person x3
Exactly 6 days later the passports arrived on our doorstep in the hands of a smiling courier.
LOOK HOW EASY IT IS TO PIN THIS!

DON'T MISS ANYTHING!
FOMO - do you have it? Well there is no need to Fear On Missing Out here at Explore With Erin. Sign up to receive updates directly to your in box. I won’t spam you, but I do promise a whole lot of awesomeness. What are you waiting for? Join Me!
PS: We hate spam too, read our Privacy Policy here.
