Stunning photographs are often the result of perfect timing and masterful techniques. Photographers use and maximise certain concepts to come up with images that stand out, and among these is depth of field.
Depth of field, or DoF, refers to the range of distance within a photo that appears acceptably sharp. It determines how much of the scene in front of and behind the subject is in focus.
The impact of DoF is easily apparent when this photography tool is used effectively. Hence, mastering DoF should be a priority if you want to come up with exceptional images every time you travel. To that end, let’s look into what DoF is and how to take advantage of it, all towards taking the most eye-catching travel photographs.

Depth of Field: Notes for the Beginning Travel Photographer
In greater detail, depth of field is a photography concept that is defined as the distance between the nearest and the farthest objects in a photo that appears acceptably sharp or in focus. When you look at a photograph, there is a zone that’s critically sharp, and this area defines the DoF.
However, you might think that this can’t be true in all instances, since in some photographs, there is no obvious distinction between the foreground or subject and the background. The explanation here is that, technically, cameras are only capable of focusing sharply on a single point; thus, DoF is always present, though its effect might not always be noticeable.
But then, how do you explain the difference between a portrait with a sharp subject against a blurry background, versus a landscape image that is seemingly sharp all over? The answer here lies in how shallow or deep the DoF is, which can be achieved with different camera settings and other factors.
DoF is a particularly useful technique in travel photography, and if you need to brush up on your skills while you’re in a country like Germany, try practising in a fotostudio mieten first before heading out to capture breathtaking nature scenes or shots of the city.
Shallow DoF or Deep DoF?
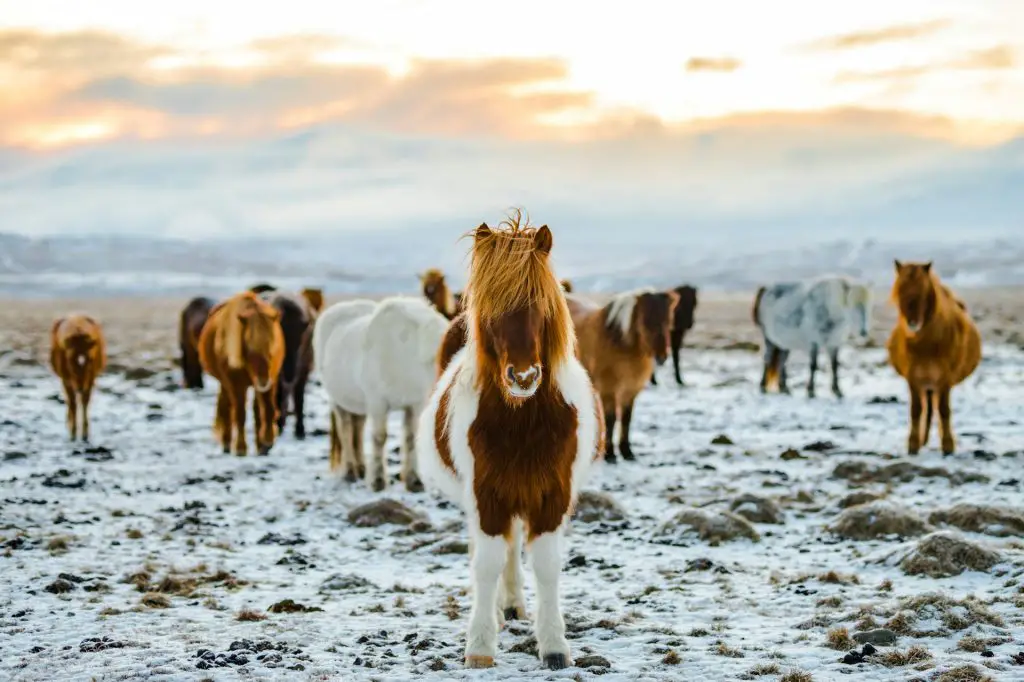
How you use DoF (either shallow or deep) is mostly determined by the effect you’re going for—whether it’s to clearly highlight a subject, or to draw the eye to a broad section of an image. Shallow DoF is typically used in portrait photography since this results in an image where there is only a small portion that is clearly focused, with the backdrop being out of focus.
With a shallow DoF, the subject easily sticks out against a blurry background. Aside from taking portraits, shallow DoF is also great for close-ups, street photography, shooting macro, products, events, and landscape—giving you several opportunities to use it when taking travel photos.
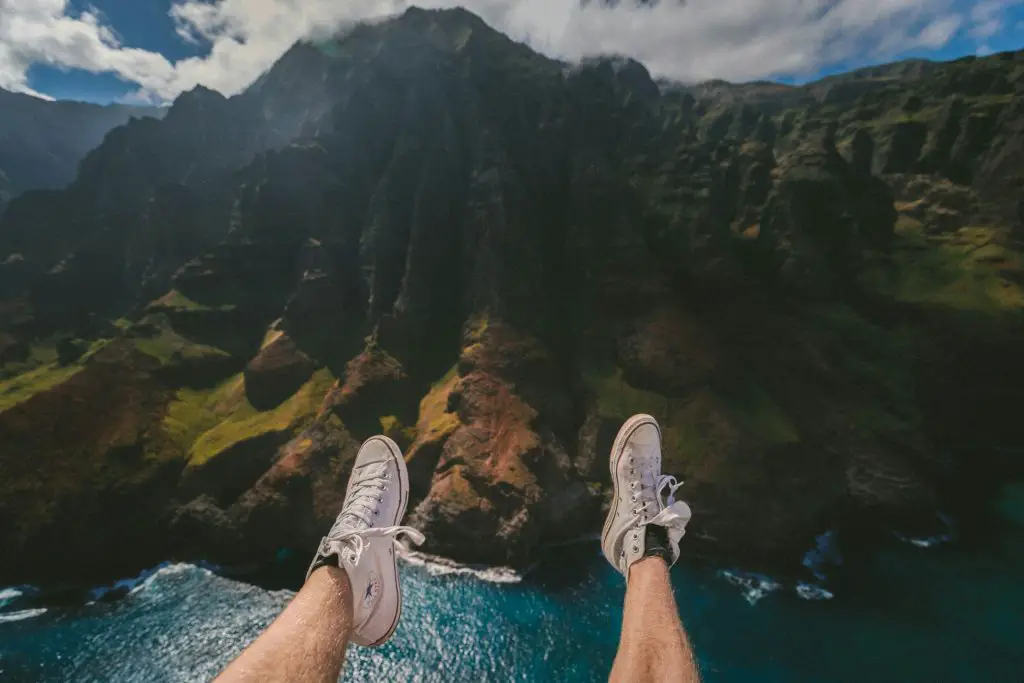
On the other hand, deep DoF is useful for landscape photography where objects are sharply focused without an apparent difference in sharpness from the foreground to the background. Using deep DoF is also ideal for group photos since even those in the back row are kept in focus.
Increasing the DoF keeps everything sharp, which is particularly important when you are shooting landscapes, seascapes, cityscapes, and architecture, i.e. situations where capturing every detail counts.

Managing DoF
DoF is a crucial element in photography as it affects the sharpness and the overall appeal of an image. Therefore, any good photographer must understand not just what DoF is, but how it can be used as a tool for creating striking and memorable images.
Being able to produce a shallow or deep DoF relies on a number of factors—aperture, camera-subject distance, sensor size, and focal length, among others. A lens’ aperture (denoted by f-stop) is the opening through which light passes through to enter the camera.
The aperture is made up of rotating blades that open when you press the shutter release, and the diameter of the aperture, measured in f-stops, determines the amount of light that gets through.
When it comes to controlling DoF, a large aperture translates to a large amount of background or foreground blur, while a small aperture results in smaller amounts of blur—that is, the bigger the aperture, the smaller the DoF.
If you’re shooting a landscape, for example, it’s best to set your aperture to f//11 or so to achieve a deep DoF, and when taking portraits, go for f/2.8 to get a shallow DoF.
Aside from aperture, the distance between the subject and the camera is another factor that affects DoF. Simply put, the closer the subject is to the camera, the shallower the depth of field produced. So if you find that you can’t achieve the blurred background effect you want in a portrait but also can’t reduce the aperture any further, try going closer to the subject to achieve a smaller DoF.
Meanwhile focal length and sensor size are other factors that might require more practice and experimentation to observe their nuanced effect on DoF. In general, longer focal lengths result in shallower DoF, since longer lenses magnify the subject, while compressing the background; shorter focal lengths can produce a deeper DoF because wider lenses allow more of the scene to be in focus using the same aperture and camera-to-subject distance. Exploring different camera lenses can help you experiment with these effects and find the perfect tool for your travel photography style.
Finally, larger sensors like full-frame to medium format cameras have a shallower DoF at the same field of view and aperture compared to smaller sensors (APS-C, micro four thirds, smartphones) that have a deeper DoF. This is information you’ll want to rely on when varying up the technique for your travel photos.

With the right gear and an understanding of crucial photography concepts like depth of field, your travel shots can stand out from others with a level of expertise and mastery. Use these takeaways about DoF for your next trip and beyond!
DON'T MISS ANYTHING!
FOMO - do you have it? Well there is no need to Fear On Missing Out here at Explore With Erin. Sign up to receive updates directly to your in box. I won’t spam you, but I do promise a whole lot of awesomeness. What are you waiting for? Join Me!
PS: We hate spam too, read our Privacy Policy here.


