

If travel is a regular part of your life, you know the post-trip chaos all too well. Suitcases land in the hallway, packing cubes end up in the laundry, and travel gear somehow stays scattered around the house until the next adventure.
The secret to making every trip easier is creating a dedicated travel gear zone at home. Store luggage, packing cubes, beach gear, camping essentials, and destination-specific items together in clearly labelled bins on sturdy shelves, ready to grab when it’s time to go.
Keep heavy items low, fabric gear dry and off concrete floors, and anything sensitive to heat, such as electronics, batteries, and car seats, inside the house. Organise it once, and you’ll spend far less time hunting for gear and much more time planning where you’re going next.
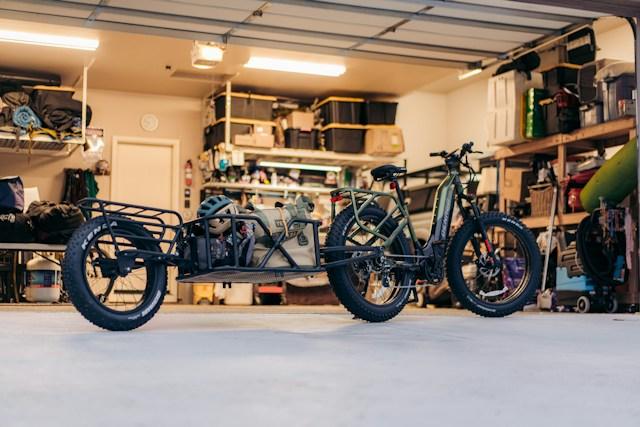
Garage or shed: which is better for travel gear?
Use the garage for gear you grab often and a shed for bulky seasonal equipment. An attached garage is the better home for things you use every few weeks, like carry-on suitcases, strollers, and the road trip cooler. It stays a little warmer in winter and cooler in summer than a detached building, and you can load the car without crossing the yard in the rain.
A backyard shed works best for gear that comes out a few times a year: tents, the rooftop cargo box, snow gear, beach umbrellas and kayaks. Moving those items out often frees enough garage space to actually park the car again.
Many traveling families end up adding a new outbuilding once the gear pile outgrows the garage. If that is your plan, one of your first calls should be to concrete foundation contractors in your area. The base under the building decides whether your gear stays dry for the next 20 years or sits on a damp, shifting floor.
Why the base under your shed or garage matters
A level, well-drained foundation keeps moisture, frost heave, and pests away from stored gear. The right type depends on the building. A shed with a built-in wood floor usually does best on a compacted gravel pad, which drains water away and keeps the floor framing dry. A floorless shed or a prefab garage needs a concrete slab, often with footers or a frost wall.
A good concrete base for a gear storage building typically includes:
- Excavation and a 4 – 5 inch layer of clean, compacted stone under the slab;
- A 6-mil moisture barrier that stops ground dampness from wicking up into the floor;
- A 4-inch concrete floor with saw-cut control joints to limit cracking;
- Footers that go below the local frost line in colder states.
Check with your township before you build, since many require a permit for garages and larger sheds. In the Northeast and Mid-Atlantic, project-based excavation provider Site Prep handles the whole job. That covers grading and excavation, gravel pads, piers and concrete foundations sized to your building, and the crew also schedules permit inspections for you. Once the concrete is poured, give it time. It reaches full strength in about 28 days, so keep heavy shelving and loaded bins off it for at least the first week.
How to prepare travel gear before storing it
Clean it, dry it completely, and empty it before it goes on a shelf. Most gear damage in storage comes from things that were put away damp or dirty. A quick post-trip routine prevents mildew smells, rust, and the surprise of finding last summer’s sand in the stroller wheels.
- Unpack suitcases fully, vacuum the lining, and leave them open for a day to air out.
- Set up tents and hang sleeping bags until they are bone dry, even if the last day of the trip was sunny.
- Wash stroller fabric, travel crib sheets, and car seat covers according to the manufacturer’s instructions.
- Wipe down coolers and prop the lids open so they don’t trap odors.
- Store power banks, camera batteries, and drone batteries at partial charge, around 40 – 60%, and keep them indoors.
- Restock the first aid kit and toiletry bag right away, while you still remember what ran out.
Best way to store each type of travel gear
Match the storage method to the gear: hang what can be hung, keep fabric loose and breathable, and bring anything heat-sensitive inside.
| Gear | Best spot | How to store it |
|---|---|---|
| Suitcases and carry-ons | Garage or shed shelf | Upright or nested, off the floor, with a silica gel pack inside |
| Tents and sleeping bags | Garage or indoor closet | Loose in large cotton or mesh bags, not in compression sacks |
| Strollers and travel cribs | Garage wall | Folded on heavy-duty hooks under a breathable cover |
| Car seats and boosters | Inside the house | Follow the manual, since extreme heat and cold can weaken the plastic; check the expiration date |
| Bikes and scooters | Garage wall | Vertical bike hooks or a wall rack |
| Rooftop cargo box, skis, kayaks | Garage ceiling or shed wall | Overhead hoist or padded wall brackets |
| Electronics and batteries | Inside the house | A cool, dry drawer, never a hot garage or shed |
Organize bins by trip type, not by item
Pack storage bins around the kinds of trips you take, so each bin works as a ready-made kit. Skip the separate bins for flashlights and sunscreen. Build a beach bin, a camping bin, a road trip bin, and a snow bin instead, plus a flight bin with passport wallets, plug adapters, and the kids’ headphones. When a trip comes up, you grab two or three bins, and you are mostly packed.
A few details make this system work:
- Use clear bins with tight lids so you can see what’s inside without opening everything;
- Put a large label on the front and on the end of each bin, since you’ll see one or the other depending on the shelf;
- Tape a checklist inside each lid and note what needs restocking after every trip;
- Give each kid a small bin for their own travel toys and games, which turns packing into a job they can help with.
Make use of vertical space
Floor space goes fast, so build up. Heavy-duty steel shelving with the heaviest bins on the bottom row is the backbone of most gear setups. Wall track systems hold strollers, bikes, folding chairs, and beach wagons. Overhead ceiling racks are perfect for off-season items like the snow bin. Keep fabric items and cardboard boxes off the bare concrete, where condensation can collect on humid days.
How do you protect travel gear from moisture, heat, and pests?
Keep humidity below 60%, keep gear off the floor, and seal anything mice might chew. Garages and sheds swing hard between seasons, and those swings cause mildew, cracked plastic, and chewed tent fabric.
- Run a small dehumidifier or use moisture absorbers, and check a cheap hygrometer now and then;
- Add silica gel packs to bins and suitcases, and swap them out once they’re saturated;
- Seal gaps around doors and along the base of shed walls, since mice can squeeze through a very small opening;
- Never store food, snacks or scented toiletries with camping gear;
- Add vents or a small solar fan to a shed so summer heat doesn’t build up inside.
Set up a packing and landing zone
A small staging area near the door makes both leaving and coming home easier. A folding table or a wall-mounted drop-down shelf gives you a place to pack bins before a trip. It also gives you a spot to sort dirty laundry, wet gear, and souvenirs when you get back. Add a laundry basket, a drying rack for swimsuits and towels, and a whiteboard with a running list of what to buy before the next trip. After a few trips, this corner becomes the place everyone heads to automatically, and that is the whole point.
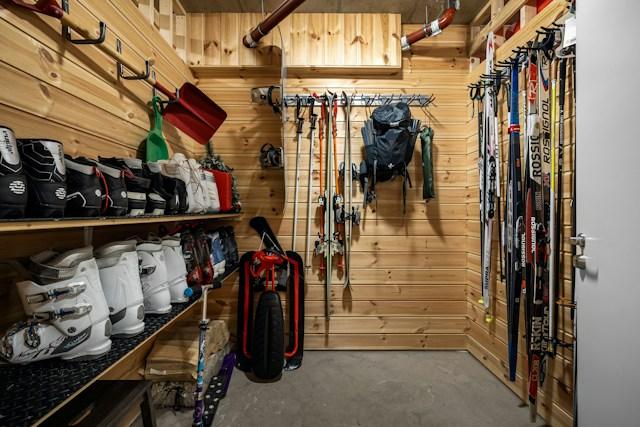
A home base that makes the next trip easier
Good gear storage isn’t about a perfect garage from a magazine. It’s about knowing the tent is dry, the passports are in the flight bin, and the stroller is on its hook. Start with a solid, dry space, sort gear by trip type, and give everything a place to come home to. Then the only thing left to plan is where you are going next.


